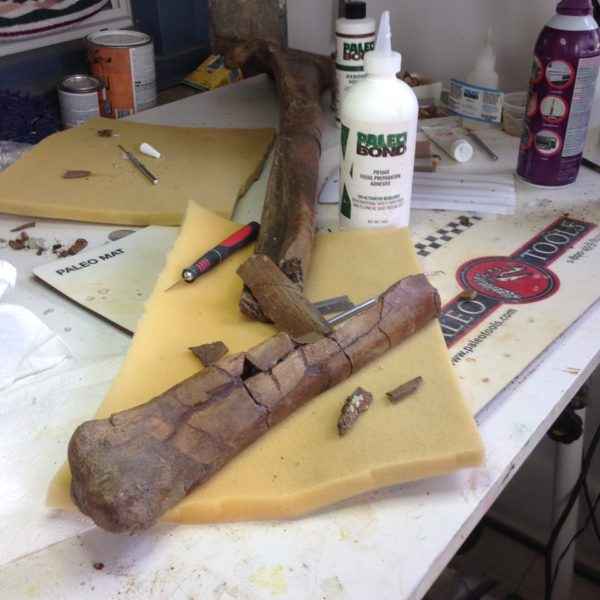
When you are planning to join a bone-to-bone or mineral-to-mineral fracture, a careful examination of the break is necessary. Small parts of the broken surface often fall sideways or mis-align themselves with the opposing surface, preventing a quality matched surface rejoining.
Remember, you’re trying to put a 3D puzzle back together. Make sure your pieces are lined up in order of repair before you start adding PaleoBOND in the mix!
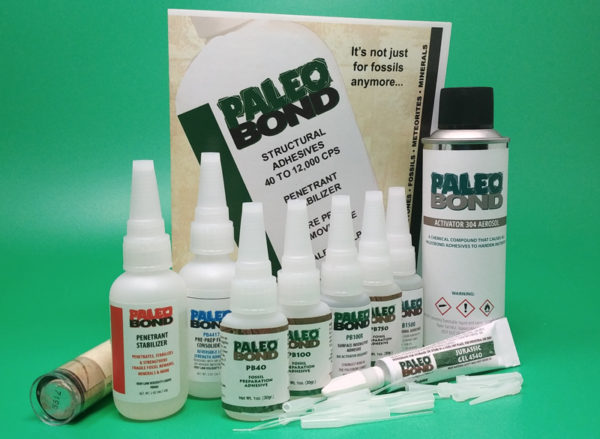
Determining Viscosity
The thickness of PaleoBOND products is measured by the viscosity of the adhesive in centipoise. The poise is the unit of dynamic viscosity in the centimetre gram second system of units. A centipoise (cp) is one one-hundredth of a poise.
When determining centipoise, all other fluids are calibrated to the viscosity of distilled water at STP. Water at approximately 70 °F (21 °C) is about one centipoise. Penetrant Stabilizer has a viscosity less than water. Each structural adhesive has a corresponding centepoise determined by the thickness of the adhesive. PB40 is the lowest at 40 cps and Jurassic Gel the highest at 12,000 cps.
For comparison, ethylene glycol has a viscosity of 24 cps. Honey comes in at 2000 cps and lard has a viscosity of 100,000 cps
Gently clean the two opposing surfaces with a fine quality brush to remove any loose particles away. Make a test rejoining without using any adhesive. If you have a poor match, dig out the object that is preventing the match and try again. When you are satisfied, make a mark across the joining line with a felt pen or pencil. This will help you keep the alignment after you separate the pieces to apply adhesive.
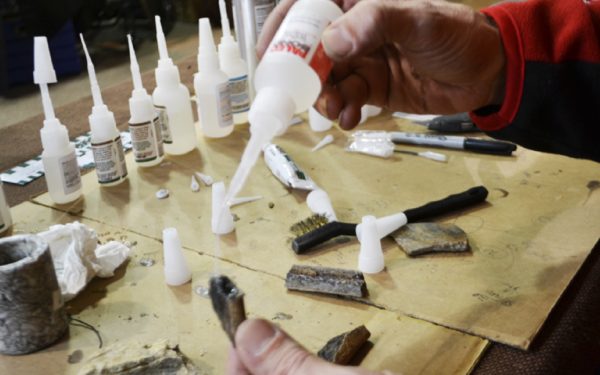
Apply PaleoBOND Penetrant Stabilizer (PB002) to both opposing surfaces.
Attach a microtip to the 2 oz. bottle. The microtips fit really tightly to the nipple of the bottle. You can gently heat the microtip using a match or lighter to soften the plastic, allowing you to slide the microtip on easily without cracking the tip end. Allow the Penetrant Stabilizer to flow slowly into the microtip using gravity. Do not squeeze the bottle! It’s thin and will come out really quickly! Place the microtip at the location of a crack or opening in your fossil or mineral. The Penetrant Stabilizer will begin to flow into the cracks. You can keep applying the PB002 as long as the material continues to absorb it. By doing this you are strengthening the internal micro-vascular substrate prior to adhering the pieces with a structural adhesive. The PB002 will immediately start to harden from the inside out. Have an old T-shirt handy to wipe off any excess that may pool on the surface.
YOU DO NOT NEED TO USE ACTIVATOR!
Choose from one of the adhesives (PB40, PB100, PB100X,PB750, PB1500 or Jurassic Gel 4540) depending on the error (gap) between the two opposing surfaces. The larger the gap, the thicker the adhesive you want to chose. You can always use PB122 PaleoPoxy or PB121 PaleoSculp to fill in and do restoration work on your piece after the repair has been made.
The PB100X LOVES the PB002. If you’re adhering two pieces that fit tightly together, or two pieces that are of different materials, once you’ve stabilized with the PB02, the PB100X will grab on and give you a strong bond. No activator is needed either as it sets up quickly on its own.
Apply to ONE surface. Join the opposing surface matching up the line you made previously.
ALWAYS be sure to work in a well ventilated area as the fumes can be irritating.
WIPE AWAY any excess “squeeze out” with a piece of cotton cloth (old t-shirts work great). Paper towels contain moisture so be very careful if you grab one.
Adhesive will cure quickly on it!
HOLD the parts together.
If you need a faster bond, SPRAY the Activator 304 or 303 sparingly on the bond line. This will give an immediate low strength bond. This bond will gain considerable strength as time passes and the adhesive fully cures in 24 hours.
Activator can cause some matrix to turn green due to a chemical reaction between the activator and copper if it’s present in the matrix.
Test a small area if you’re not sure.
Have questions or concerns about the process? Feel free to contact our team and we will help you in any way we can!
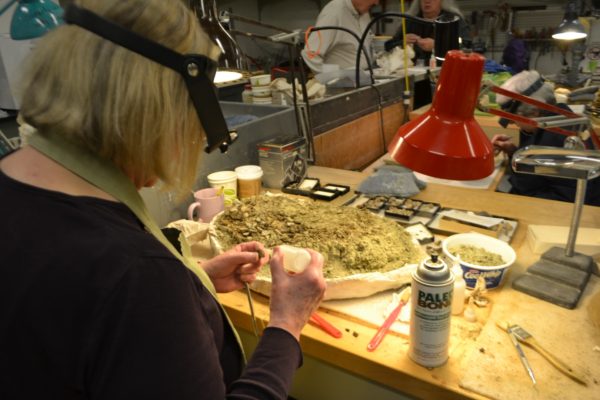
We have considerable experience from the paleontology field and the knife making circles that the Penetrant Stabilizer (PB002) works wonders.
When ivory looses its moisture, it shrinks, hence the cracking. The PB002 seals and bonds the fine openings and cracks and stabilizes the ivory. Don’t hesitate to call us if you have questions prior to starting your repair.
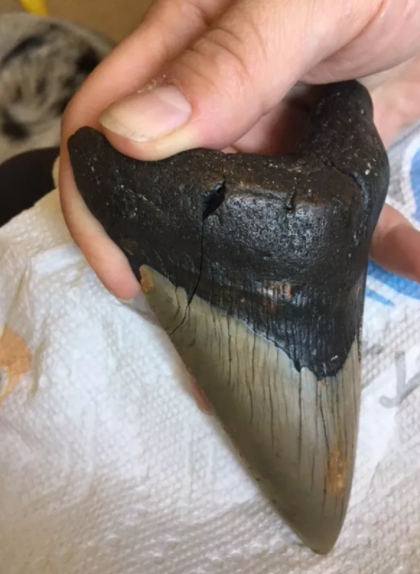
Shark teeth collectors have used PB002 Penetrant and Stabilizer for years.
The root area is what dries out and then the tooth starts to crack.
Drop a small amount of the Penetrant PB002 on the exterior surface of the tooth and then pull it over the surface with a piece of cardboard. This seals the tooth, repairs any cracks and makes you smile with a job well done. 🙂
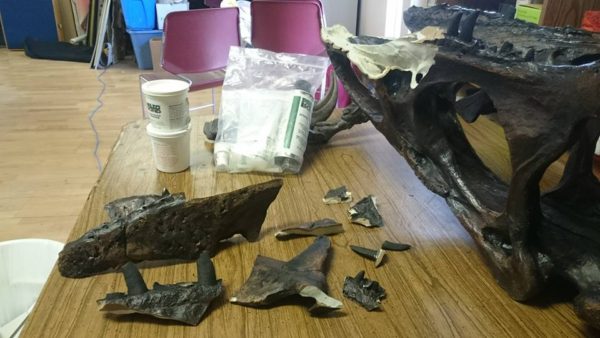
If pieces are broken off, use one of the structural adhesives to adhere the broken pieces back together after stabilizing the break on each piece. PB100X works great in most instances, unless you have a big gap to fill.
PaleoSculp can be used to fill in any missing areas. You can mix the black, gray and white to get a close color match to your specimen for Megalodon teeth and the gray, Jurassic brown and Hell Creek brown for other types of teeth.